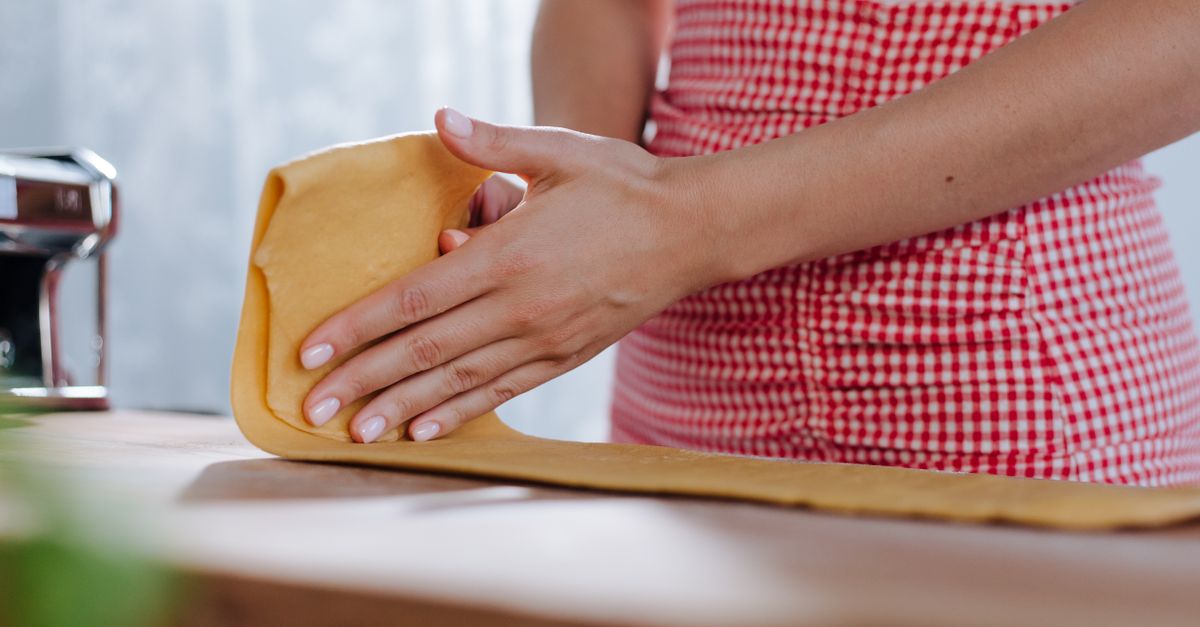
Why Your Homemade Pasta Isn't Silky (And The Simple Shifts That Guarantee Tender Perfection Every Time)
For years, I chased the dream of restaurant-quality homemade pasta. I’d spend hours mixing, kneading, and rolling, only to end up with a plate of chewy, brittle, or just plain tough pasta that barely held its sauce. It was disheartening, to say the least. I’d watch cooking shows where chefs effortlessly produced glistening, tender strands, and wonder what secret I was missing. Was it my flour? My technique? My stubborn resistance to buying an expensive pasta machine? The truth, I discovered, wasn’t a single magic bullet but a series of subtle shifts in my approach, focusing on hydration, rest, and a mindful touch. If you’ve been battling dry, gummy, or crumbly homemade pasta, know that you’re not alone, and that perfection is absolutely within reach.
Key Takeaways
- Achieve ideal pasta dough hydration with a 2:1 flour-to-egg ratio, adjusting with a minimal amount of water or olive oil only if absolutely necessary.
- Prioritize a 30-minute to 1-hour rest period for your dough after kneading to allow gluten to relax and improve elasticity.
- Focus on consistent, gentle kneading for 7-10 minutes to develop gluten without overworking the dough.
- Roll your pasta dough gradually, starting thick and progressively thinning it, ensuring even texture and preventing tears.
The Overlooked Hydration Balance: It’s Not Always Just Eggs
When I first started making pasta, I religiously stuck to the ‘one egg per 100g of flour’ rule. While this is a great starting point, I quickly learned it’s not a hard-and-fast law. The type of flour you use (all-purpose, ‘00’, semolina), the size of your eggs, and even the ambient humidity in your kitchen can drastically alter the ideal hydration. The biggest mistake I made was adding too much liquid upfront, thinking a softer dough would be easier to work with. It wasn’t. It just became a sticky, unmanageable mess that required more flour, leading to a dry, heavy final product.
My breakthrough came when I started aiming for a slightly drier, stiffer dough than I initially thought necessary. Instead of adding water or oil liberally from the start, I learned to add liquid incrementally, often just a teaspoon at a time, until the dough came together. I now typically start with a 2:1 ratio of flour to eggs by weight, then adjust very cautiously. For example, if I’m using 200g of ‘00’ flour, I’ll start with two large eggs (approximately 100g). I’ll mix them into the flour until shaggy, then assess. If it’s too crumbly to form a ball after a few minutes of initial kneading, I’ll dip my fingertips in water or olive oil and continue kneading. This minimalist approach to hydration prevents over-saturation and ensures the dough has the right balance of elasticity and structure, resulting in that coveted silky texture.
The Non-Negotiable Power of Rest: Let Your Gluten Relax
This was a game-changer for me. For years, I would knead my dough, then immediately try to roll it out. The result? A dough that fought back. It would shrink, tear, and resist thinning, leading to frustration and ultimately, thick, uneven pasta. The problem wasn’t my kneading, but my impatience.
The critical step I was missing was allowing the dough to rest, covered, for at least 30 minutes, but ideally an hour, after kneading. Think of gluten, the protein network in flour, like tiny, tense muscles after a workout. Without rest, they remain tight and resistant. A proper rest period allows the gluten strands to relax and re-distribute moisture evenly throughout the dough. This makes the dough significantly more pliable, elastic, and easier to roll. It becomes silky smooth, stretches beautifully without tearing, and achieves that thin, delicate consistency essential for tender pasta. I now wrap my dough tightly in plastic wrap (to prevent a skin from forming) and leave it at room temperature, or in the fridge if I’m preparing it hours in advance.
The Art of Mindful Kneading: Beyond Just ‘Enough’
Everyone says ‘knead your dough for 7-10 minutes,’ but what does ‘knead’ actually mean, and what are we looking for? My early kneading efforts were often too aggressive or too timid. Too aggressive, and I’d tear the gluten. Too timid, and the gluten wouldn’t develop sufficiently, leading to crumbly pasta.
The goal of kneading is to develop the gluten network, creating strength and elasticity. My focus shifted from just hitting a time target to paying attention to the dough’s transformation. I look for it to become smooth, uniform, and resilient. When you press a finger into it, it should slowly spring back. This is the hallmark of well-developed gluten. I use a gentle, rhythmic push-and-fold motion, using the heel of my hand to press the dough away from me, then folding it back. If it feels sticky, I resist the urge to add more flour and instead just keep kneading; often, the stickiness resolves itself as the gluten develops. If it’s too dry, a tiny spritz of water or olive oil on my hands, not directly on the dough, works wonders. Consistent, gentle effort, rather than brute force, is key to achieving a cohesive, elastic dough that will roll out beautifully.
The Gradual Rolling Process: Thickness Matters
This seems obvious, but it’s a step I frequently rushed. I’d try to go from a thick lump of dough to paper-thin in just a few passes through the pasta machine. This puts immense stress on the dough, causing it to tear, stretch unevenly, or clump up. The result was often lumpy, thick pasta in some spots and paper-thin in others, leading to inconsistent cooking and undesirable textures.
The secret is gradual reduction in thickness. Whether by hand with a rolling pin or with a pasta machine, start with the thickest setting (or a roughly 1/4-inch thickness by hand) and work your way down. For a pasta machine, I recommend passing the dough through each setting 2-3 times, folding it in half or thirds between passes, until it reaches the desired thinness. This process ‘conditions’ the dough, strengthening the gluten and making it more resilient. By the time it reaches the thinnest setting, it should be translucent and smooth, not stressed or torn. This gradual approach ensures consistent thickness, which is crucial for even cooking and that delicate, silky bite.
Frequently Asked Questions
What kind of flour should I use for the best homemade pasta?
For the silkiest, most tender pasta, I strongly recommend Italian ‘00’ flour. It’s finely milled and has a moderate protein content, which creates a very elastic yet delicate dough. All-purpose flour can work, but you might find the texture slightly chewier. Some chefs also blend ‘00’ with a small amount of fine semolina for added bite and texture.
Can I make pasta dough in a food processor or stand mixer?
Absolutely! For a food processor, pulse the flour and eggs until a shaggy dough forms, then knead on a clean surface for 5-7 minutes. For a stand mixer with a dough hook, mix on low speed until combined, then knead on medium-low for 7-10 minutes. The key is still to look for the dough’s texture: smooth, elastic, and slowly springing back when poked.
How do I know if my pasta dough is hydrated correctly?
The ideal pasta dough should be firm, not sticky, and smooth to the touch. When you press your finger into it, it should resist slightly and slowly spring back. If it’s too dry, it will be crumbly and difficult to bring together; if too wet, it will stick to your hands and the counter. Trust your tactile feel more than strict measurements, especially after a few batches.
What’s the best way to store fresh pasta dough or cut pasta?
For dough, wrap it tightly in plastic wrap and store it in the refrigerator for up to 2 days. For cut pasta, you have a few options: cook immediately, dry it for a few hours on a drying rack or floured baking sheet (then store in an airtight container at room temp for a few days), or freeze it. To freeze, dust generously with flour, form into small nests, and freeze on a baking sheet. Once solid, transfer to a freezer bag for up to a month. Cook directly from frozen.
My pasta keeps tearing when I roll it. What am I doing wrong?
This is usually a sign of insufficient rest after kneading, or trying to thin the dough too quickly. Ensure your dough rests for at least 30-60 minutes to allow the gluten to relax. Then, when rolling, start with the thickest setting on your machine (or a thicker gauge by hand) and progressively work your way down through each setting. Don’t skip settings, and if using a machine, pass it through each setting 2-3 times, folding it between passes, before moving to the next thinner one. This conditions the dough and prevents tearing.
Making homemade pasta went from a frustrating chore to a deeply satisfying ritual once I understood these core principles. It’s less about rigid rules and more about understanding the dough itself – its hydration needs, its desire for rest, and its response to your touch. By focusing on these simple, yet profound shifts, you’ll soon be enjoying silky, tender pasta that perfectly cradles your favorite sauces, making every meal a celebration. Give these a try, and taste the difference for yourself.
Written by Clara Jenkins
Nutrition & Gut Health
A registered dietitian who simplifies nutrition into delicious, everyday choices.
You Might Also Like

Why Your Expensive Coffee Maker Underperforms (And The Overlooked Mistakes Ruining Your Brew)
Investing in a high-end coffee maker doesn't guarantee a great cup. Learn the common mistakes that sabotage your brew and how to fix them for café-quality coffee at home.

Why Your Home Still Smells Stale (Even After Cleaning) — And What Actually Works for Real Freshness
Discover why your home's air still feels stale after cleaning and the surprising culprits. Learn Dr. Lena Sharma's practical tips for lasting freshness.

Why Your Home Always Feels Stuffy (Even With the Windows Open) — And What Actually Works for Real Fresh Air
Discover the overlooked reasons your home feels stuffy, even with open windows, and learn effective strategies for lasting fresh air, not just temporary relief.