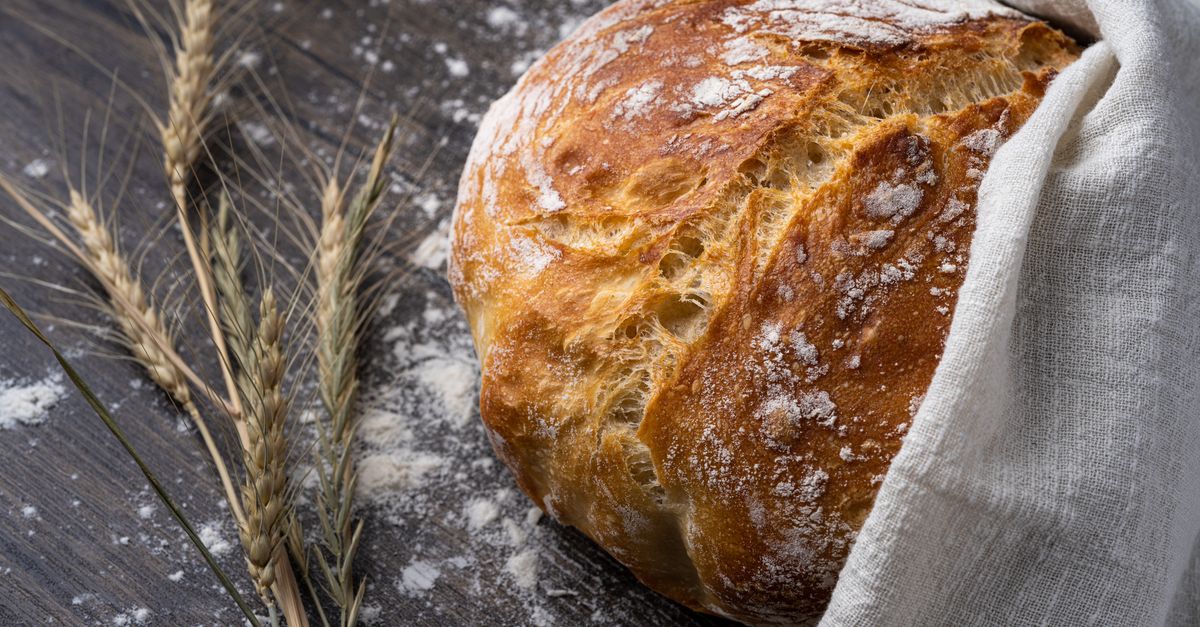
Why Your Homemade Bread is Dry, Crumbly, and Dense (And The Simple Shifts That Guarantee a Light, Airy Loaf Every Time)
There’s nothing quite like the aroma of freshly baked bread filling your kitchen. The promise of a warm, crusty exterior giving way to a soft, airy crumb is a baker’s dream. Yet, for many home bakers, that dream often crumbles—literally. You follow the recipe, knead with enthusiasm, and wait with bated breath, only to pull out a loaf that’s dry, dense, and disappointingly crumbly. It’s a frustrating experience, leaving you wondering if homemade bread is even worth the effort.
I’ve been there more times than I care to admit. Early in my baking journey, my loaves consistently ended up as brick-like doorstops or dry, flavorless husks. I meticulously measured, bought expensive flours, and watched countless YouTube tutorials, yet the results were always the same: a bread that was far from the light, airy perfection I craved. It wasn’t until I started looking beyond the obvious instructions and delving into the why behind common baking failures that everything clicked. The problem wasn’t my ambition; it was a series of subtle but critical missteps that most recipes gloss over. What changed everything for me wasn’t a secret ingredient or a fancy technique, but a deeper understanding of dough mechanics and ingredient interactions. It’s about creating the optimal environment for gluten development and yeast activity, which are the true architects of that perfect crumb.
Key Takeaways
- Your bread’s dry, dense texture is often due to improper hydration, not just too much flour.
- The way you knead significantly impacts gluten development, which dictates crumb structure.
- Temperature control, both for ingredients and proofing, is crucial for yeast activity and flavor.
- Baking time and cooling methods are often overlooked but critical for the final texture and moisture retention.
The Hydration Conundrum: Too Little Water, Not Just Too Much Flour
When your bread turns out dry and dense, the first instinct is often to blame too much flour. While over-flouring during kneading can certainly contribute, the real culprit is frequently insufficient initial hydration. Most beginner bakers fear sticky doughs and err on the side of adding less water or more flour than necessary. In my experience, this is the single biggest factor leading to a dense crumb.
Think of bread dough as a matrix where water activates gluten and provides mobility for yeast. If there isn’t enough water, the gluten strands can’t fully develop into a strong, elastic network that can trap the gases produced by yeast. Instead, you get a tight, stiff dough that resists stretching, resulting in a bread with a tight, small crumb that feels heavy. It also doesn’t allow the starches to fully gelatinize during baking, leading to a dry mouthfeel.
What changed everything for me was learning to embrace sticky dough. Many traditional recipes call for a hydration level of 60-65% (water weight relative to flour weight), which often results in a relatively stiff dough. For a truly light and airy bread, I aim for at least 70% hydration, sometimes even higher for no-knead or artisan loaves. This means the dough will be very sticky initially. Don’t immediately reach for more flour. Instead, rely on proper kneading techniques, which I’ll discuss next, to develop the gluten. A visual cue: your dough should look shaggy and feel tacky but should eventually clear the sides of the bowl after sufficient kneading. If it’s still stiff and tearing, it needs more water, not more flour. Slowly add water, one tablespoon at a time, until the dough reaches a pliable, slightly sticky consistency.
The Hidden Impact of Under-Kneading (and Over-Kneading!)
Kneading is a fundamental step, but it’s also where many loaves go wrong. The goal of kneading is to develop gluten, the protein network responsible for bread’s structure and elasticity. When your bread is dense and crumbly, it’s often a sign of under-kneading—the gluten hasn’t developed enough to form that strong, stretchy web. However, over-kneading can also be an issue, leading to a tough, sometimes dense texture as well.
In my early days, I either kneaded too timidly, convinced I was going to ruin the dough, or I kneaded endlessly, thinking more was always better. Both approaches yielded poor results. Under-kneading leaves the gluten network weak and unable to trap the CO2 gas produced by yeast, leading to a small, tight crumb that tears easily. Over-kneading, while less common for home bakers, can cause the gluten to break down, resulting in a dough that’s slack, sticky, and also struggles to hold its structure, leading to a dense or gummy interior.
The key is to knead until the dough passes the windowpane test. This simple test is a game-changer. Take a small piece of dough and gently stretch it between your fingers. If you can stretch it thin enough to see light through it without it tearing, your gluten is perfectly developed. For most standard bread doughs, this takes about 8-12 minutes of vigorous hand kneading or 6-8 minutes in a stand mixer at medium speed. Don’t just watch the clock; feel the dough. It should become smooth, elastic, and less sticky, pulling away from your hands or the sides of the bowl.
If you’re hand-kneading, ensure you’re using proper technique: push the dough away, fold it back, rotate, and repeat. Use a bench scraper to handle sticky dough instead of constantly adding flour. This allows the hydration to remain high, which is critical for that airy texture.
The Temperature Tango: Yeast’s Goldilocks Zone for Success
Yeast is a living organism, and its activity is highly sensitive to temperature. If your homemade bread consistently turns out dense, the problem might be that your yeast isn’t happy—either too cold, too hot, or not active enough. The mistake I see most often is bakers ignoring the subtle temperature cues throughout the process.
Initially, I thought using warm water was enough. But then I’d place my dough to rise in a cold kitchen, or worse, proof it too quickly in a warm oven, only to get lackluster results. Yeast thrives in a **
Written by Clara Jenkins
Nutrition & Gut Health
A registered dietitian who simplifies nutrition into delicious, everyday choices.
You Might Also Like
Why Your Expensive Coffee Maker Underperforms (And The Overlooked Mistakes Ruining Your Brew)
Investing in a high-end coffee maker doesn't guarantee a great cup. Learn the common mistakes that sabotage your brew and how to fix them for café-quality coffee at home.

Why Your Home Still Smells Stale (Even After Cleaning) — And What Actually Works for Real Freshness
Discover why your home's air still feels stale after cleaning and the surprising culprits. Learn Dr. Lena Sharma's practical tips for lasting freshness.

Why Your Home Always Feels Stuffy (Even With the Windows Open) — And What Actually Works for Real Fresh Air
Discover the overlooked reasons your home feels stuffy, even with open windows, and learn effective strategies for lasting fresh air, not just temporary relief.